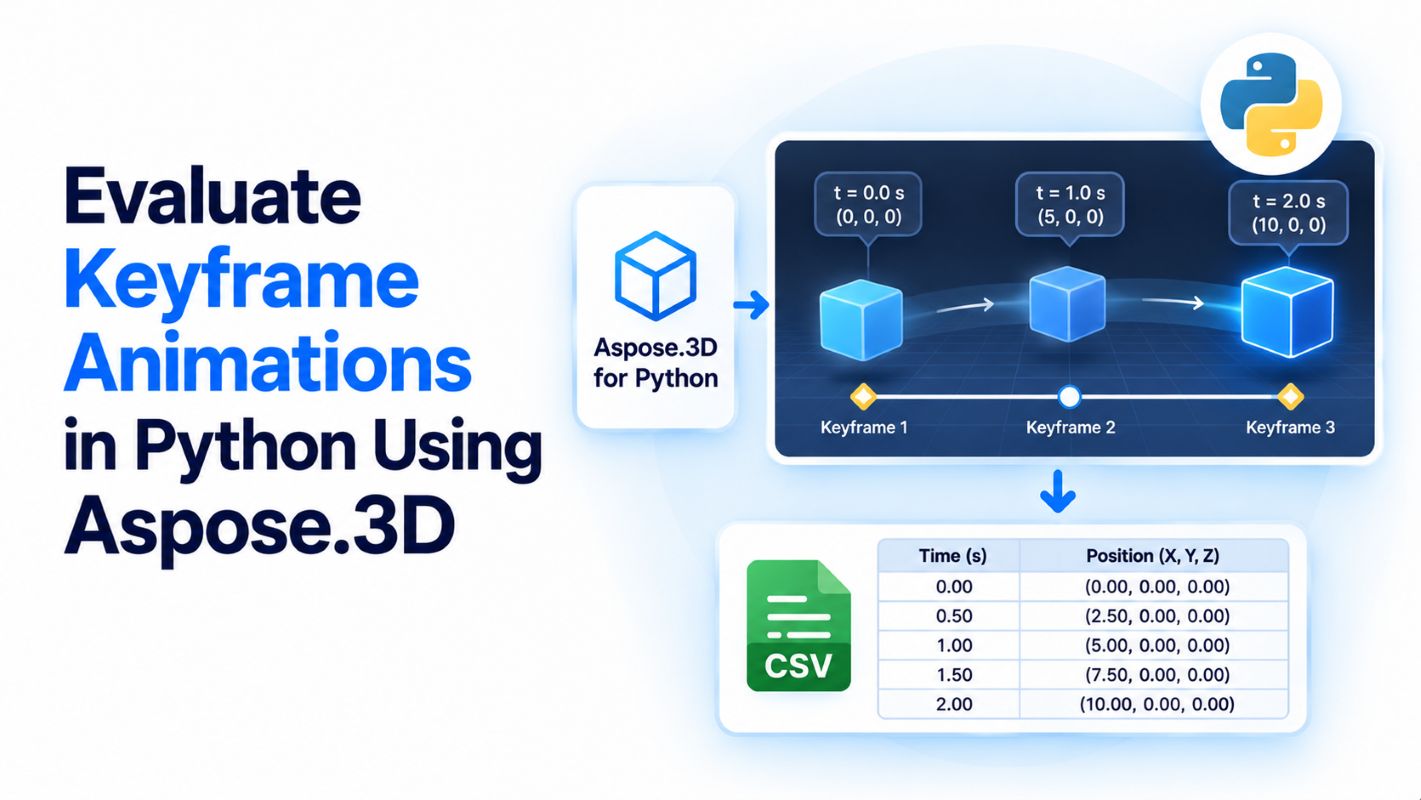
Keyframe animations define how a value changes over time. For example, you can specify where an object should be at the start of an animation and where it should move next, then calculate its position at any point between those keyframes. This is useful for inspecting motion curves, checking animation timing, and exporting sampled values for further analysis. Aspose.3D for Python via .NET enables you to sample a keyframe sequence at a specified timestamp without rendering a 3D scene. In this tutorial, you’ll create a simple position animation, evaluate its interpolated values every half-second, and save the results in a CSV file.
Install Aspose.3D for Python
Install Aspose.3D for Python via .NET version 26.10 using pip:
pip install aspose-3d==26.10.0
This example uses only the aspose.threed.animation module and Python’s built-in csv module. You do not need a GLB/GLTF file or a Vulkan-compatible graphics card because the code performs animation calculations rather than image rendering.
For platform and installation information, refer to the Aspose.3D for Python documentation.
Create and evaluate a keyframe animation in Python
The example models the X position of an object. The position starts at 0, reaches 10 units after two seconds, and returns to 0 after five seconds.
| Time (seconds) | X position | Action |
|---|---|---|
| 0 | 0 | Start |
| 2 | 10 | Reach maximum position |
| 5 | 0 | Return to start |
The values between these keyframes are calculated using linear interpolation. The sample creates a standalone numeric animation curve; it does not attach the sequence to an actual scene object.
Complete Python code example
The following script creates a KeyframeSequence, adds three keyframes, evaluates eleven timestamps, validates the keyframe values, and exports the results to keyframe_animation.csv.
import csv

from aspose.threed.animation import (
    KeyframeSequence,
    Interpolation
)


OUTPUT_FILE = "keyframe_animation.csv"

# Create an animation curve
sequence = KeyframeSequence("PositionX")

# Define keyframes using linear interpolation
sequence.add(0.0, 0.0, Interpolation.LINEAR)
sequence.add(2.0, 10.0, Interpolation.LINEAR)
sequence.add(5.0, 0.0, Interpolation.LINEAR)

# Display the defined keyframes
print("Keyframes:")

for key in sequence.key_frames:
    print(
        f"Time: {key.time:.2f}s, "
        f"Value: {key.value:.2f}"
    )

# Evaluate the animation every 0.5 seconds
start_time = 0.0
end_time = 5.0
step = 0.5

records = []

print("\nEvaluated animation values:")
print("---------------------------")
print("Time (s) | X Position")

sample_count = int(
    round((end_time - start_time) / step)
) + 1

for i in range(sample_count):
    time = float(start_time + i * step)

    # Evaluate the animation at this timestamp
    value = float(sequence.evaluate(time))

    records.append([time, value])

    print(f"{time:8.2f} | {value:10.3f}")

# Verify values at known timestamps
assert abs(sequence.evaluate(0.0) - 0.0) < 1e-5
assert abs(sequence.evaluate(2.0) - 10.0) < 1e-5
assert abs(sequence.evaluate(5.0) - 0.0) < 1e-5

# Export animation data to CSV
with open(
    OUTPUT_FILE,
    "w",
    newline="",
    encoding="utf-8"
) as file:

    writer = csv.writer(file)

    writer.writerow([
        "Time (seconds)",
        "X Position"
    ])

    writer.writerows(records)

print(f"\nAnimation data saved to {OUTPUT_FILE}")
print("Keyframe validation passed.")
Understand how the keyframe evaluation works
Define a keyframe sequence
The KeyframeSequence class represents a numeric curve with values defined at specific times. This line creates a sequence named PositionX:
sequence = KeyframeSequence("PositionX")
The name helps identify the sequence. It does not automatically bind the sequence to a mesh or node property. For details, see the KeyframeSequence API reference.
Add keyframes with linear interpolation
Each call to add() supplies a timestamp, a value, and an interpolation type:
sequence.add(0.0, 0.0, Interpolation.LINEAR)
sequence.add(2.0, 10.0, Interpolation.LINEAR)
sequence.add(5.0, 0.0, Interpolation.LINEAR)
Interpolation.LINEAR tells the sequence to calculate intermediate values proportionally between keyframes. As a result, the value increases steadily from 0 to 10 during the first two seconds and decreases steadily from 10 to 0 during the next three seconds.
Calculate a value at a timestamp
The key operation is:
value = sequence.evaluate(1.5)
For this example, the expected result at 1.5 seconds is 7.5. Linear interpolation follows this formula:
[ v(t) = v_0 + \frac{t - t_0}{t_1 - t_0}(v_1 - v_0) ]
Here, t is the requested timestamp, t0 and t1 are the surrounding keyframe times, and v0 and v1 are their respective values.
Between the first two keyframes, evaluating at 1.5 seconds gives:
[ v(1.5) = 0 + \frac{1.5 - 0}{2 - 0}(10 - 0) = 7.5 ]
You do not need to implement this formula yourself. KeyframeSequence.evaluate() performs the calculation according to the sequence’s interpolation settings.
Check the evaluated values
For the sample keyframes, the output is:
Keyframes:
Time: 0.00s, Value: 0.00
Time: 2.00s, Value: 10.00
Time: 5.00s, Value: 0.00

Evaluated animation values:
---------------------------
Time (s) | X Position
    0.00 |      0.000
    0.50 |      2.500
    1.00 |      5.000
    1.50 |      7.500
    2.00 |     10.000
    2.50 |      8.333
    3.00 |      6.667
    3.50 |      5.000
    4.00 |      3.333
    4.50 |      1.667
    5.00 |      0.000

Animation data saved to keyframe_animation.csv
Keyframe validation passed.
The assert statements check the values at the three defined keyframe timestamps. They use a small tolerance rather than direct floating-point equality.
The changing values between keyframes confirm that the sequence is being sampled across its time range.
Export keyframe values to CSV
After evaluating the sequence, the script writes the time and calculated X position to keyframe_animation.csv using Python’s csv module. The file begins with:
Time (seconds),X Position
0.0,0.0
0.5,2.5
1.0,5.0
1.5,7.5
2.0,10.0
You can open this CSV in a spreadsheet application, plot the resulting motion curve, or read it back into Python for analysis. To obtain finer-grained results, reduce step from 0.5 to a smaller interval and adjust the desired time range.
Practical considerations
Sample only within the intended time range. This tutorial evaluates times from 0 to 5 seconds. Values outside the defined keyframes are governed by pre- and post-extrapolation behavior, which is separate from interpolation between keyframes.
Choose interpolation deliberately. Linear interpolation produces constant changes within each segment. Other interpolation styles can create different motion characteristics and may require additional keyframe settings. Refer to the animation API reference before changing the interpolation mode.
Distinguish animation evaluation from scene animation. The code evaluates a numeric curve only. It does not update a scene node’s X position or create a rendered animation. To move a 3D object, the sequence must be connected to an appropriate animated property in a scene.
GPU rendering is not required. No call to Scene.render() or a rendering backend is made. This makes the sample suitable for working with animation values on machines without a Vulkan-compatible GPU.
Get a Free Temporary License
You can request a free 30-day temporary license to evaluate Aspose.3D for Python via .NET without trial limitations. Follow the Aspose.3D licensing guide to apply the license to your application.
Free Learning Resources
Explore these resources to continue working with 3D animation and file-processing workflows in Python:
- Aspose.3D for Python Developer Guide – Documentation for loading, creating, and processing 3D scenes.
- Aspose.3D Animation API Reference – Classes for keyframes, interpolation, animation clips, and property bindings.
- Free Online 3D Applications – Browser-based tools for supported 3D file tasks.
- Aspose.3D Tutorials and Articles – More practical examples for working with 3D formats.
Conclusion
You can use KeyframeSequence.evaluate() in Aspose.3D for Python via .NET to calculate animation values at specific times without rendering a model. In this example, three keyframes define an X-position curve, while the evaluator calculates intermediate positions and exports them to CSV. To adapt the example, change the keyframe values or the sampling interval. For model-level animation, the next step is to bind animation curves to scene properties and apply them to objects.