
עריכת תמונות משמשת מאוד לשיפור איכות התמונות. עם הופעתן של מצלמות ניידות ואפליקציות לעריכת תמונות, כל משתמש נייד מודע כיצד לערוך תמונה. בין שאר תכונות עריכת התמונות, יצירת קולאז’ים היא תופעה פופולרית שבה מספר תמונות משולבות לתמונה אחת. אז במאמר זה, נדגים כיצד למזג מספר תמונות ב-Python. זה יכול להיות שימושי עבורך אם אתה מתמודד עם עריכת תמונות ביישום Python שלך.
- ספריית פייתון למיזוג תמונות
- מיזוג תמונות מרובות ב- Python
- שלב תמונות PNG ב-Python
- מיזוג תמונות באינטרנט
ספריית פייתון למיזוג תמונות
כדי למזג מספר תמונות לתמונה אחת, נשתמש ב-Aspose.Imaging for Python. זוהי ספריית עיבוד תמונה עשירה בתכונות לביצוע מספר פעולות עריכת תמונות ללא מאמץ. אתה יכול להוריד את הספרייה או להתקין אותה באמצעות הפקודה הבאה.
> pip install aspose-imaging-python-net
מיזוג תמונות מרובות ב- Python
ישנן שתי דרכים למיזוג תמונות: אנכית ואופקית. אתה יכול לבחור את השיטה המתאימה. בואו נסתכל כיצד לשלב תמונות בשני הדרכים בסעיפים הבאים.
מיזוג תמונות אופקית ב- Python
להלן השלבים למיזוג התמונות אופקית באמצעות Aspose.Imaging for Python.
- התחל בציון הנתיבים של התמונות במערך.
- לאחר מכן, חשב את הגובה והרוחב של התמונה המתקבלת.
- צור אובייקט במחלקה JpegOptions והגדר את האפשרויות הנדרשות.
- צור אובייקט של מחלקה JpegImage ואתחל אותו עם אובייקט JpegOptions והגובה והרוחב של התמונה שנוצרה.
- עברו בלולאה ברשימת התמונות וטען כל תמונה באמצעות מחלקה RasterImage.
- צור מלבן עבור כל תמונה והוסף אותו לתמונה שנוצרה באמצעות שיטת JpegImage.saveargb32pixels() .
- הגדל את רוחב התפירה בכל איטרציה.
- לבסוף, שמור את התמונה שנוצרה באמצעות שיטת JpegImage.save(string).
להלן הקוד למיזוג תמונות אופקית ב- Python.
import aspose.pycore as aspycore
from aspose.imaging import Image, Rectangle, RasterImage
from aspose.imaging.imageoptions import JpegOptions
from aspose.imaging.sources import FileCreateSource
from aspose.imaging.fileformats.jpeg import JpegImage
import os

# הגדר את התיקיות
if 'TEMPLATE_DIR' in os.environ:
	templates_folder = os.environ['TEMPLATE_DIR']
else:
	templates_folder = r"C:\Users\USER\Downloads\templates"

delete_output = 'SAVE_OUTPUT' not in os.environ
data_dir = templates_folder
image_paths = [os.path.join(data_dir, "template.jpg"),
			   os.path.join(data_dir, "template.jpeg")]
output_path = os.path.join(data_dir, "result.jpg")
temp_file_path = os.path.join(data_dir, "temp.jpg")

# קבל את גודל התמונה המתקבל
image_sizes = []
for image_path in image_paths:
	with Image.load(image_path) as image:
		image_sizes.append(image.size)

# חשב גודל חדש
new_width = 0
new_height = 0
for size in image_sizes:
	new_width += size.width
	new_height = max(new_height, size.height)

# שלב תמונות לאחד חדש
temp_file_source = FileCreateSource(temp_file_path, delete_output)
with JpegOptions() as options:
	options.source = temp_file_source
	options.quality = 100
	with aspycore.as_of(Image.create(options, new_width, new_height), JpegImage) as new_image:
		stitched_width = 0
		for image_path in image_paths:
			with aspycore.as_of(Image.load(image_path), RasterImage) as image:
				bounds = Rectangle(stitched_width, 0, image.width, image.height)
				new_image.save_argb_32_pixels(bounds, image.load_argb_32_pixels(image.bounds))
				stitched_width += image.width
		new_image.save(output_path)

# מחק קבצים זמניים
if delete_output:
	os.remove(output_path)
	if os.path.exists(temp_file_path):
		os.remove(temp_file_path)
להלן תמונת הפלט שקיבלנו לאחר מיזוג תמונות אופקית.

שלב תמונות אנכית ב-Python
כעת נראה כיצד למזג מספר תמונות בצורה אנכית. השלבים של מיזוג תמונות אנכית יהיו זהים לחלק הקודם. ההבדל היחיד הוא שהיינו מחליפים את התפקידים של מאפייני גובה ורוחב.
דוגמת הקוד הבאה מראה כיצד למזג תמונות בפריסה אנכית ב- Python.
import aspose.pycore as aspycore
from aspose.imaging import Image, Rectangle, RasterImage
from aspose.imaging.imageoptions import JpegOptions
from aspose.imaging.sources import StreamSource
from aspose.imaging.fileformats.jpeg import JpegImage
from aspose.imaging.extensions import StreamExtensions
import os
import functools

# הגדר תיקיות
if 'TEMPLATE_DIR' in os.environ:
	templates_folder = os.environ['TEMPLATE_DIR']
else:
	templates_folder = r"C:\Users\USER\Downloads\templates"

delete_output = 'SAVE_OUTPUT' not in os.environ
data_dir = templates_folder
image_paths = [os.path.join(data_dir, "template.jpg"), os.path.join(data_dir, "template.jpeg")]
output_path = os.path.join(data_dir, "result.jpg")
temp_file_path = os.path.join(data_dir, "temp.jpg")

# קבל את גודל התמונה המתקבל
image_sizes = []
for image_path in image_paths:
	with Image.load(image_path) as image:
		image_sizes.append(image.size)

# חשב גודל חדש
new_width = 0
new_height = 0
for size in image_sizes:
	new_height += size.height
	new_width = max(new_width, size.width)

# שלב תמונות לאחד חדש
with StreamExtensions.create_memory_stream() as memory_stream:
	output_stream_source = StreamSource(memory_stream)
	with JpegOptions() as options:
		options.source = output_stream_source
		options.quality = 100
		with aspycore.as_of(Image.create(options, new_width, new_height), JpegImage) as new_image:
			stitched_height = 0
			for image_path in image_paths:
				with aspycore.as_of(Image.load(image_path), RasterImage) as image:
					bounds = Rectangle(0, stitched_height, image.width, image.height)
					new_image.save_argb_32_pixels(bounds, image.load_argb_32_pixels(image.bounds))
					stitched_height += image.height

			new_image.save(output_path)

# מחק קבצים זמניים
if delete_output:
	os.remove(output_path)
התמונה הבאה מציגה את הפלט של מיזוג שתי תמונות דומות בצורה אנכית.

מיזוג תמונות PNG ב-Python
השלבים ודוגמאות הקוד שסופקו בסעיפים הקודמים נועדו למיזוג תמונות JPG, עם זאת, ייתכן שיהיה עליך למזג גם תמונות PNG. אין מה לדאוג. אותם שלבים ודגימת קוד תקפים עבור תמונות PNG והשינוי היחיד יהיה שימוש במחלקות PngImage ו-PngOptions במקום JpegImage ו-JpegOptions, בהתאמה.
קבל בחינם את ספריית מיזוג תמונות Python
אתה יכול לקבל רישיון זמני בחינם ולמזג את התמונות ללא מגבלות הערכה.
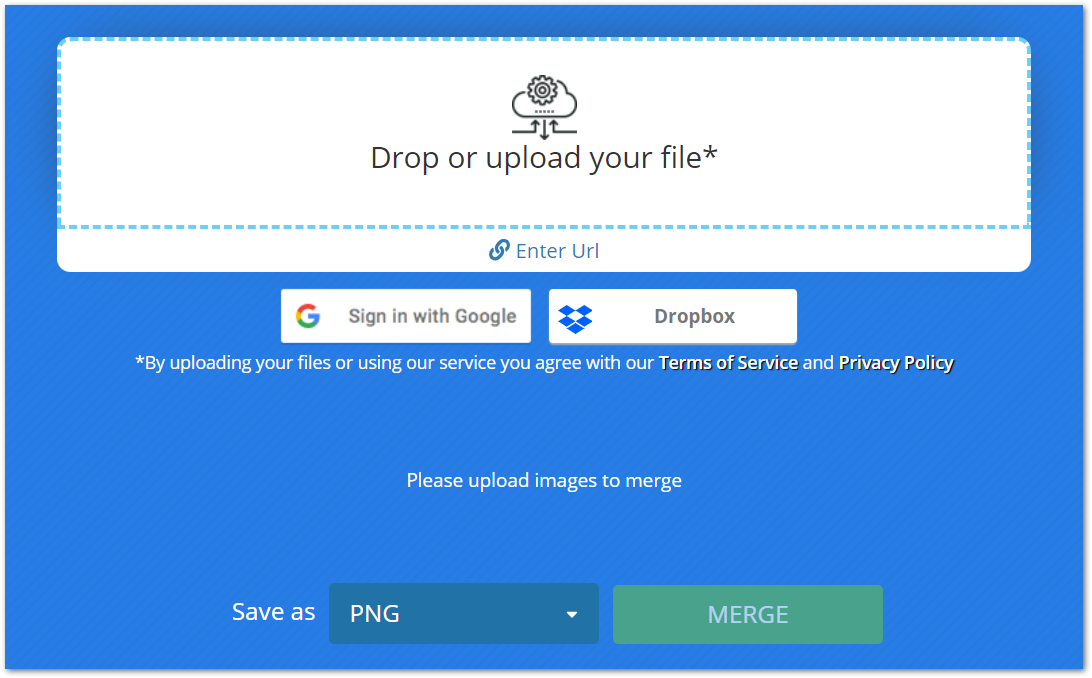
מיזוג תמונות באינטרנט
אתה יכול גם להשתמש בכלי מיזוג תמונות בחינם כדי למזג את התמונות שלך באינטרנט. כלי זה מבוסס על Aspose.Imaging עבור Python ואין צורך ליצור עבורו חשבון.
סיכום
מאמר זה סיפק לך את אחד הפתרונות הטובים והפשוטים ביותר למיזוג תמונות מרובות לתמונה אחת ב- Python. מיזוג התמונה האופקי והאנכי מודגם בעזרת דוגמאות קוד. בנוסף, הצגנו לך כלי מקוון למיזוג תמונות ללא עלות.
תוכל לחקור עוד על ספריית עיבוד התמונות של Python על ידי ביקור בתיעוד. כמו כן, אתה יכול לשתף אותנו בשאילתות שלך דרך הפורום שלנו.