Microsoft PowerPoint מספקת אפשרות להגדיר את הרקע של שקופיות PowerPoint בהתאם לצרכים שלך. ייתכנו מצבים שבהם עליך להגדיר את הרקע של שקופיות PowerPoint באופן תוכנתי. לשם כך, מאמר זה ילמד אותך כיצד להגדיר את הרקע של שקופיות PowerPoint באמצעות C++. באופן ספציפי, תלמד כיצד להגדיר צבע אחיד, שיפוע ורקע תמונה.
- C++ API להגדרת רקע שקופיות במצגות PowerPoint
- הגדר צבע רקע של שקופיות רגילות באמצעות C++
- הגדר את צבע הרקע של השקף הראשי באמצעות C++
- הגדרת צבע רקע הדרגתי של שקופיות באמצעות C++
- הגדר תמונה כרקע שקופית באמצעות C++
C++ API להגדרת רקע שקופיות במצגות PowerPoint
נשתמש ב-Aspose.Slides for C++ API כדי להגדיר רקע שקופיות במצגות Powerpoint. זהו ממשק API חזק ועשיר בתכונות התומך ביצירה, קריאה ושינוי של קבצי PowerPoint ללא צורך בתוכנה נוספת. אתה יכול להתקין את ה-API דרך NuGet או להוריד אותו ישירות מהקטע הורדות.
PM> Install-Package Aspose.Slides.Cpp
הגדר צבע רקע של שקופיות רגילות באמצעות C++
להלן השלבים להגדרת צבע הרקע של שקופית רגילה באמצעות C++.
- ראשית, טען את קובץ ה-PowerPoint באמצעות המחלקה מצגת.
- הגדר את סוג הרקע באמצעות השיטה Presentation->getSlides()->idxget(0)->getBackground()->setType (BackgroundType value).
- הגדר את סוג המילוי באמצעות השיטה Presentation->getSlides()->idxget(0)->getBackground()->getFillFormat()->setFillType (Aspose::Slides::FillType value).
- הגדר את הצבע באמצעות Presentation->getSlides()->idxget(0)->getBackground()->getFillFormat()->getSolidFillColor()->setColor (System::Drawing::Color value) שיטה.
- לבסוף, שמור את קובץ ה-PowerPoint באמצעות השיטה Presentation->Save(System::String fname, Export::SaveFormat format).
הקוד לדוגמה הבא מראה כיצד להגדיר את צבע הרקע של שקופיות רגילות באמצעות C++.
// נתיבי קבצים
const String sourceFilePath = u"SourceDirectory\\Slides\\Presentation2.pptx";
const String outputFilePath = u"OutputDirectory\\SetSlideBackground_out.pptx";
// טען את קובץ המצגת
auto presentation = System::MakeObject<Presentation>(sourceFilePath);
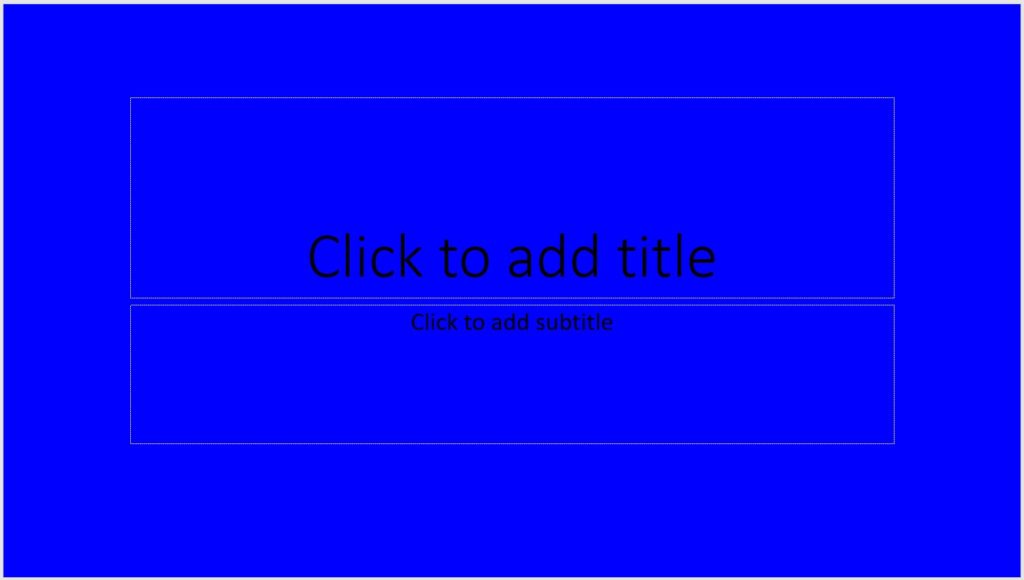
// הגדר את צבע הרקע של ISlide הראשון לכחול
presentation->get_Slides()->idx_get(0)->get_Background()->set_Type(BackgroundType::OwnBackground);
presentation->get_Slides()->idx_get(0)->get_Background()->get_FillFormat()->set_FillType(FillType::Solid);
presentation->get_Slides()->idx_get(0)->get_Background()->get_FillFormat()->get_SolidFillColor()->set_Color(System::Drawing::Color::get_Blue());
// שמור מצגת
presentation->Save(outputFilePath, Aspose::Slides::Export::SaveFormat::Pptx);
להלן התמונה של השקופית לפני הגדרת צבע הרקע.
להלן התמונה של השקופית לאחר הגדרת צבע הרקע.
הגדר את צבע הרקע של השקף הראשי באמצעות C++
על מנת להגדיר את צבע הרקע של השקופית הראשית, בצע את השלבים המפורטים להלן.
- ראשית, טען את קובץ ה-PowerPoint באמצעות המחלקה Presentation.
- הגדר את סוג הרקע באמצעות השיטה Presentation->getMasters()->idxget(0)->getBackground()-setType (BackgroundType value).
- הגדר את סוג המילוי באמצעות השיטה Presentation->getMasters()->idxget(0)->getBackground()->getFillFormat()->setFillType (Aspose::Slides::FillType value).
- הגדר את הצבע באמצעות Presentation->getMasters()->idxget(0)->getBackground()->getFillFormat()->getSolidFillColor()->setColor ( System::Drawing::Color value) שיטה.
- לבסוף, שמור את קובץ ה-PowerPoint באמצעות השיטה Presentation->Save(System::String fname, Export::SaveFormat format).
הקוד לדוגמה הבא מראה כיצד להגדיר את צבע הרקע של השקף הראשי באמצעות C++.
// נתיבי קבצים
const String sourceFilePath = u"SourceDirectory\\Slides\\Presentation2.pptx";
const String outputFilePath = u"OutputDirectory\\SetMasterSlideBackground_out.pptx";

// טען את קובץ המצגת
auto presentation = System::MakeObject<Presentation>(sourceFilePath);

// הגדר את צבע הרקע של ה-Master ISlide לירוק יער
presentation->get_Masters()->idx_get(0)->get_Background()->set_Type(BackgroundType::OwnBackground);
presentation->get_Masters()->idx_get(0)->get_Background()->get_FillFormat()->set_FillType(FillType::Solid);
presentation->get_Masters()->idx_get(0)->get_Background()->get_FillFormat()->get_SolidFillColor()->set_Color(System::Drawing::Color::get_ForestGreen());

// שמור מצגת
presentation->Save(outputFilePath, Aspose::Slides::Export::SaveFormat::Pptx);
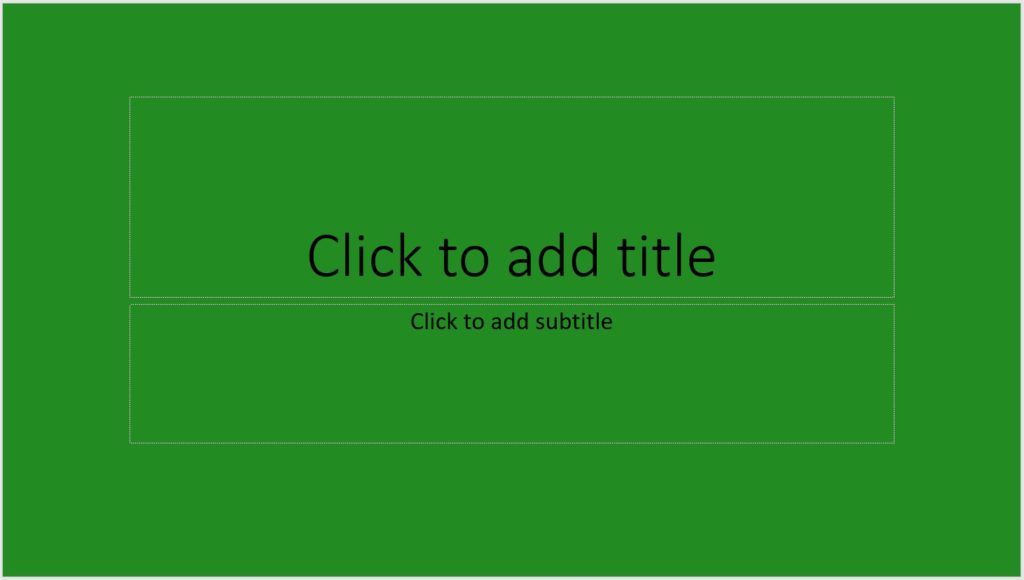
תמונה של הפלט שנוצר על ידי הקוד לדוגמה
הגדרת צבע רקע הדרגתי של שקופיות באמצעות C++
במקום להשתמש בצבעים אחידים, אתה יכול גם להחיל צבע רקע הדרגתי על שקופיות PowerPoint. על מנת להשיג זאת, אנא בצע את השלבים המפורטים להלן.
- ראשית, טען את קובץ ה-PowerPoint באמצעות המחלקה מצגת.
- הגדר את סוג הרקע באמצעות השיטה Presentation->getSlides()->idxget(0)->getBackground()->setType (BackgroundType value).
- הגדר את סוג המילוי באמצעות השיטה Presentation->getSlides()->idxget(0)->getBackground()->getFillFormat()->setFillType (Aspose::Slides::FillType value).
- הגדר את פורמט השיפוע באמצעות Presentation->getSlides()->idxget(0)->getBackground()->getFillFormat()->getGradientFormat()->setTileFlip (ערך Aspose::Slides::TileFlip) שיטה.
- לבסוף, שמור את קובץ ה-PowerPoint באמצעות השיטה Presentation->Save(System::String fname, Export::SaveFormat format).
הקוד לדוגמה הבא מראה כיצד להגדיר את צבע הרקע ההדרגתי של שקופיות באמצעות C++.
// נתיבי קבצים
const String sourceFilePath = u"SourceDirectory\\Slides\\Presentation2.pptx";
const String outputFilePath = u"OutputDirectory\\SetSlideGradientBackground_out.pptx";

// טען את קובץ המצגת
auto presentation = System::MakeObject<Presentation>(sourceFilePath);

// החל אפקט הדרגתי על הרקע
presentation->get_Slides()->idx_get(0)->get_Background()->set_Type(BackgroundType::OwnBackground);
presentation->get_Slides()->idx_get(0)->get_Background()->get_FillFormat()->set_FillType(FillType::Gradient);
presentation->get_Slides()->idx_get(0)->get_Background()->get_FillFormat()->get_GradientFormat()->set_TileFlip(TileFlip::FlipBoth);

// שמור מצגת
presentation->Save(outputFilePath, Aspose::Slides::Export::SaveFormat::Pptx);
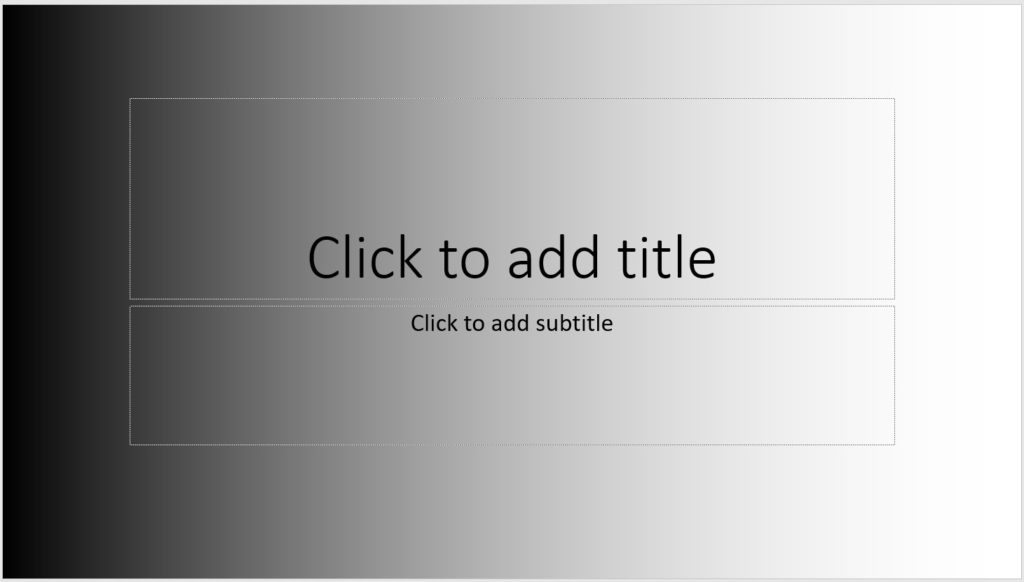
תמונה של הפלט שנוצר על ידי הקוד לדוגמה
הגדר תמונה כרקע שקופית באמצעות C++
על מנת להשתמש בתמונה כרקע לשקופית, בצע את השלב הבא.
- ראשית, טען את קובץ ה-PowerPoint באמצעות המחלקה מצגת.
- הגדר את סוג הרקע באמצעות השיטה Presentation->getSlides()->idxget(0)->getBackground()->setType (BackgroundType value).
- הגדר את סוג המילוי באמצעות השיטה Presentation->getSlides()->idxget(0)->getBackground()->getFillFormat()->setFillType (Aspose::Slides::FillType value).
- הגדר את מצב מילוי התמונה באמצעות Presentation->getSlides()->idxget(0)->getBackground()->getFillFormat()->getPictureFillFormat()->setPictureFillMode (ערך Aspose::Slides::PictureFillMode) שיטה.
- טען את התמונה באמצעות המחלקה Bitmap.
- הוסף את התמונה לאוסף התמונות של המצגת באמצעות [Presentation->getImages()->AddImage (System::SharedPtrSystem::Drawing::Image תמונה)]שיטה 24.
- הגדר את התמונה כרקע באמצעות Presentation->getSlides()->idxget(0)->getBackground()->getFillFormat()->getPictureFillFormat()->getPicture()->setImage (System::SharedPtr value) שיטה.
- לבסוף, שמור את קובץ ה-PowerPoint באמצעות השיטה Presentation->Save(System::String fname, Export::SaveFormat format).
הקוד לדוגמה הבא מראה כיצד להגדיר תמונה כרקע שקופית באמצעות C++.
// נתיבי קבצים
const String sourceFilePath = u"SourceDirectory\\Slides\\Presentation2.pptx";
const String imageFilePath = u"SourceDirectory\\Images\\Tulips.jpg";
const String outputFilePath = u"OutputDirectory\\SetSlideImageBackground_out.pptx";

// טען את קובץ המצגת
auto presentation = System::MakeObject<Presentation>(sourceFilePath);

// הגדר מאפייני רקע
presentation->get_Slides()->idx_get(0)->get_Background()->set_Type(BackgroundType::OwnBackground);
presentation->get_Slides()->idx_get(0)->get_Background()->get_FillFormat()->set_FillType(FillType::Picture);
presentation->get_Slides()->idx_get(0)->get_Background()->get_FillFormat()->get_PictureFillFormat()->set_PictureFillMode(PictureFillMode::Stretch);

// תשיג את התמונה
auto bitmap = MakeObject<System::Drawing::Bitmap>(imageFilePath);

// הוסף תמונה לאוסף התמונות של המצגת
SharedPtr<IPPImage> imgx = presentation->get_Images()->AddImage(bitmap);

// הגדר את התמונה כרקע
presentation->get_Slides()->idx_get(0)->get_Background()->get_FillFormat()->get_PictureFillFormat()->get_Picture()->set_Image(imgx);

// שמור מצגת
presentation->Save(outputFilePath, Aspose::Slides::Export::SaveFormat::Pptx);

קבל רישיון חינם
על מנת לנסות את ה-API ללא מגבלות הערכה, אתה יכול לבקש רישיון זמני ללא תשלום.
סיכום
במאמר זה, למדת כיצד להגדיר את הרקע של שקופיות PowerPoint באמצעות C++. באופן ספציפי, למדת כיצד להגדיר צבע אחיד, שיפוע ורקע תמונה באמצעות Aspose.Slides עבור C++ API. זהו API רב עוצמה המספק חבורה של תכונות נוספות לעבודה עם קבצי PowerPoint. אתה יכול לחקור את ה-API בפירוט על ידי ביקור בתיעוד הרשמי. בכל מקרה של שאלות, אנא אל תהסס לפנות אלינו בפורום התמיכה החינמית שלנו.