
이미지 편집은 이미지의 품질을 향상시키기 위해 엄청나게 사용됩니다. 모바일 카메라와 이미지 편집 앱의 등장으로 모든 모바일 사용자는 이미지를 편집하는 방법을 알고 있습니다. 다른 이미지 편집 기능 중에서 콜라주 만들기는 여러 이미지를 하나의 이미지로 결합하는 인기 있는 기능입니다. 따라서 이 기사에서는 Python에서 여러 이미지를 병합하는 방법을 보여줍니다. 이것은 Python 애플리케이션에서 이미지 편집을 처리하는 경우 유용할 수 있습니다.
이미지 병합을 위한 Python 라이브러리
여러 이미지를 단일 이미지로 병합하려면 Aspose.Imaging for Python을 사용합니다. 여러 이미지 편집 작업을 손쉽게 수행할 수 있는 기능이 풍부한 이미지 처리 라이브러리입니다. 라이브러리를 다운로드하거나 다음 명령을 사용하여 설치할 수 있습니다.
> pip install aspose-imaging-python-net
Python에서 여러 이미지 병합
이미지를 병합하는 방법에는 수직 및 수평의 두 가지가 있습니다. 적합한 방법을 선택할 수 있습니다. 다음 섹션에서 두 가지 방법으로 이미지를 결합하는 방법을 살펴보겠습니다.
Python에서 이미지를 수평으로 병합
다음은 Aspose.Imaging for Python을 사용하여 이미지를 가로로 병합하는 단계입니다.
- 배열에서 이미지의 경로를 지정하여 시작합니다.
- 그런 다음 결과 이미지의 높이와 너비를 계산합니다.
- JpegOptions 클래스의 객체를 생성하고 필요한 옵션을 설정합니다.
- JpegImage 클래스의 객체를 생성하고 JpegOptions 객체와 결과 이미지의 높이 및 너비로 초기화합니다.
- 이미지 목록을 반복하고 RasterImage 클래스를 사용하여 각 이미지를 로드합니다.
- 각 이미지에 대한 Rectangle을 만들고 JpegImage.saveargb32pixels() 메서드를 사용하여 결과 이미지에 추가합니다.
- 반복할 때마다 스티치 폭을 늘립니다.
- 마지막으로 JpegImage.save(string) 메서드를 사용하여 결과 이미지를 저장합니다.
아래는 Python에서 이미지를 수평으로 병합하는 코드입니다.
import aspose.pycore as aspycore
from aspose.imaging import Image, Rectangle, RasterImage
from aspose.imaging.imageoptions import JpegOptions
from aspose.imaging.sources import FileCreateSource
from aspose.imaging.fileformats.jpeg import JpegImage
import os

# 폴더 정의
if 'TEMPLATE_DIR' in os.environ:
	templates_folder = os.environ['TEMPLATE_DIR']
else:
	templates_folder = r"C:\Users\USER\Downloads\templates"

delete_output = 'SAVE_OUTPUT' not in os.environ
data_dir = templates_folder
image_paths = [os.path.join(data_dir, "template.jpg"),
			   os.path.join(data_dir, "template.jpeg")]
output_path = os.path.join(data_dir, "result.jpg")
temp_file_path = os.path.join(data_dir, "temp.jpg")

# 결과 이미지 크기 얻기
image_sizes = []
for image_path in image_paths:
	with Image.load(image_path) as image:
		image_sizes.append(image.size)

# 새 크기 계산
new_width = 0
new_height = 0
for size in image_sizes:
	new_width += size.width
	new_height = max(new_height, size.height)

# 이미지를 새로운 이미지로 결합
temp_file_source = FileCreateSource(temp_file_path, delete_output)
with JpegOptions() as options:
	options.source = temp_file_source
	options.quality = 100
	with aspycore.as_of(Image.create(options, new_width, new_height), JpegImage) as new_image:
		stitched_width = 0
		for image_path in image_paths:
			with aspycore.as_of(Image.load(image_path), RasterImage) as image:
				bounds = Rectangle(stitched_width, 0, image.width, image.height)
				new_image.save_argb_32_pixels(bounds, image.load_argb_32_pixels(image.bounds))
				stitched_width += image.width
		new_image.save(output_path)

# 임시 파일 삭제
if delete_output:
	os.remove(output_path)
	if os.path.exists(temp_file_path):
		os.remove(temp_file_path)
아래는 이미지를 수평으로 병합한 후 얻은 출력 이미지입니다.

Python에서 이미지를 세로로 결합
이제 여러 이미지를 세로로 병합하는 방법을 살펴보겠습니다. 이미지를 세로로 병합하는 단계는 이전 섹션과 동일합니다. 유일한 차이점은 높이 및 너비 속성의 역할을 바꾼다는 것입니다.
다음 코드 샘플은 Python의 세로 레이아웃에서 이미지를 병합하는 방법을 보여줍니다.
import aspose.pycore as aspycore
from aspose.imaging import Image, Rectangle, RasterImage
from aspose.imaging.imageoptions import JpegOptions
from aspose.imaging.sources import StreamSource
from aspose.imaging.fileformats.jpeg import JpegImage
from aspose.imaging.extensions import StreamExtensions
import os
import functools

# 폴더 정의
if 'TEMPLATE_DIR' in os.environ:
	templates_folder = os.environ['TEMPLATE_DIR']
else:
	templates_folder = r"C:\Users\USER\Downloads\templates"

delete_output = 'SAVE_OUTPUT' not in os.environ
data_dir = templates_folder
image_paths = [os.path.join(data_dir, "template.jpg"), os.path.join(data_dir, "template.jpeg")]
output_path = os.path.join(data_dir, "result.jpg")
temp_file_path = os.path.join(data_dir, "temp.jpg")

# 결과 이미지 크기 얻기
image_sizes = []
for image_path in image_paths:
	with Image.load(image_path) as image:
		image_sizes.append(image.size)

# 새 크기 계산
new_width = 0
new_height = 0
for size in image_sizes:
	new_height += size.height
	new_width = max(new_width, size.width)

# 이미지를 새로운 이미지로 결합
with StreamExtensions.create_memory_stream() as memory_stream:
	output_stream_source = StreamSource(memory_stream)
	with JpegOptions() as options:
		options.source = output_stream_source
		options.quality = 100
		with aspycore.as_of(Image.create(options, new_width, new_height), JpegImage) as new_image:
			stitched_height = 0
			for image_path in image_paths:
				with aspycore.as_of(Image.load(image_path), RasterImage) as image:
					bounds = Rectangle(0, stitched_height, image.width, image.height)
					new_image.save_argb_32_pixels(bounds, image.load_argb_32_pixels(image.bounds))
					stitched_height += image.height

			new_image.save(output_path)

# 임시 파일 삭제
if delete_output:
	os.remove(output_path)
다음 이미지는 두 개의 유사한 이미지를 세로로 병합한 결과를 보여줍니다.

Python에서 PNG 이미지 병합
이전 섹션에서 제공된 단계 및 코드 샘플은 JPG 이미지를 병합하기 위한 것이었지만 PNG 이미지도 병합해야 할 수 있습니다. 걱정할 필요 없어. 동일한 단계와 코드 샘플이 PNG 이미지에 유효하며 유일한 변경 사항은 각각 JpegImage 및 JpegOptions 대신 PngImage 및 PngOptions 클래스를 사용하는 것입니다.
무료 Python 이미지 병합 라이브러리 받기
무료 임시 라이선스를 받고 평가 제한 없이 이미지를 병합할 수 있습니다.
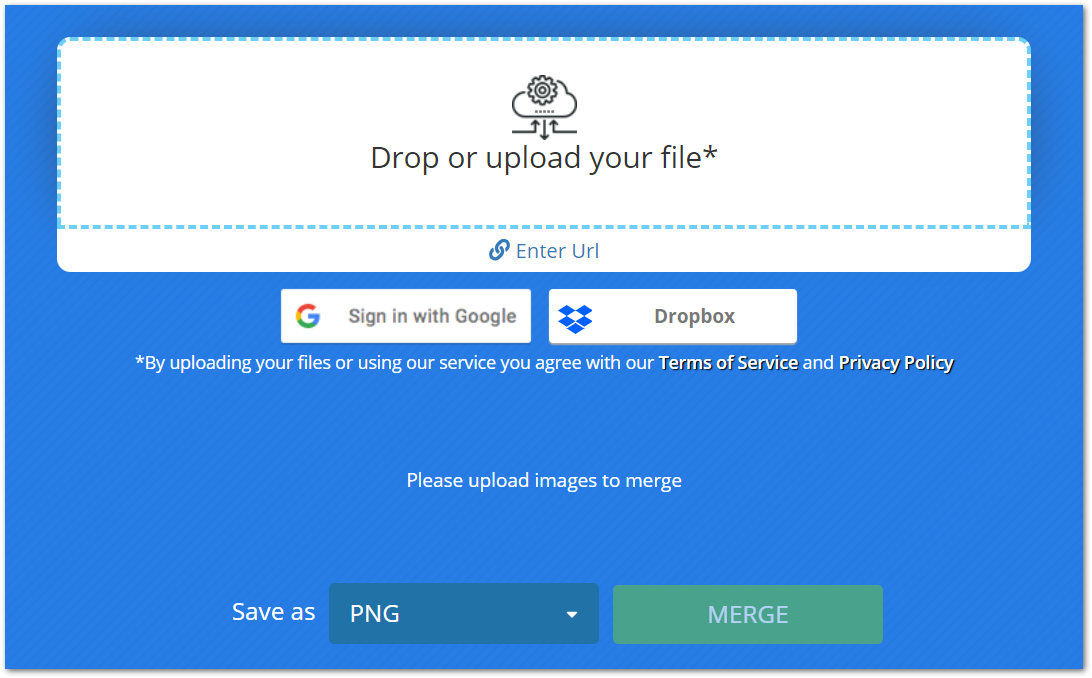
온라인으로 이미지 병합
무료 이미지 병합 도구를 사용하여 온라인에서 이미지를 병합할 수도 있습니다. 이 도구는 Python용 Aspose.Imaging을 기반으로 하며 계정을 만들 필요가 없습니다.
결론
이 기사는 Python에서 여러 이미지를 단일 이미지로 병합하는 가장 좋고 간단한 솔루션 중 하나를 제공했습니다. 수평 및 수직 이미지 병합은 코드 샘플의 도움으로 시연됩니다. 또한 이미지를 무료로 병합할 수 있는 온라인 도구를 소개했습니다.
문서를 방문하여 Python 이미지 처리 라이브러리에 대해 자세히 알아볼 수 있습니다. 또한 포럼을 통해 질문을 공유할 수 있습니다.