
데이터 기반 애플리케이션의 중요성이 커짐에 따라 XML 파일의 데이터를 보편적으로 허용되는 PDF 형식으로 내보내야 하는 필요성이 매우 중요해졌습니다. 이 블로그 게시물은 Python에서 XML을 PDF로 효율적으로 변환하는 단계별 가이드를 제공합니다. 그럼 시작해보자!
이 문서에서는 다음 주제를 다룹니다.
XML을 PDF로 변환하는 Python 라이브러리
XML에서 PDF 파일을 생성하는 경우 가장 간단한 접근 방식은 XML을 PDF로 변환하도록 설계된 Aspose.PDF for Python 라이브러리를 활용하는 것입니다. 간단한 설치 및 사용으로 XML 문서를 PDF 파일로 변환하는 효율적인 솔루션을 제공합니다. Python용 Aspose.PDF는 PDF 생성, 조작 및 변환을 위한 강력한 솔루션으로 개발자에게 문서 작업 흐름에 대한 탁월한 제어 기능을 제공합니다.
패키지를 다운로드하거나 콘솔에서 다음 pip 명령을 사용하여 PyPI에서 API를 설치하세요.
> pip install aspose-pdf
Python에서 XML을 PDF로 변환
아래 단계에 따라 XML을 PDF로 쉽게 변환할 수 있습니다.
- 문서 클래스의 개체를 만듭니다.
- XML 파일 경로를 제공하여 Document.bindxml(file) 메서드를 사용하여 XML을 바인딩합니다.
- Document.save(outputfilename) 메서드를 사용하여 XML을 PDF로 변환합니다.
다음 코드 샘플은 Python을 사용하여 XML 파일을 PDF로 변환하는 방법을 보여줍니다.
import aspose.pdf as ap

# 새 PDF 문서 만들기
pdfDocument = ap.Document();

# XML 변환 및 바인딩
pdfDocument.bind_xml( "C:\\Files\\sample.xml");

# XML에서 PDF 생성
pdfDocument.save( "C:\\Files\\generated-pdf.pdf");
소스 XML 파일
다음은 PDF 문서로 변환하는 데 사용한 샘플 XML 파일입니다.
<?xml version="1.0" encoding="utf-8" ?>
<Document xmlns="Aspose.Pdf">
  <Page>
    <TextFragment>
      <TextSegment>Lorem ipsum dolor sit amet, consectetur adipiscing elit. Nulla odio lorem, luctus in lorem vitae, accumsan semper lectus. Cras a auctor leo, et tincidunt lacus.</TextSegment>
    </TextFragment>
  </Page>
</Document>
생성된 PDF 문서

Python에서 XML을 PDF로 변환
Python의 XML에서 PDF 생성
또한 애플리케이션 데이터가 포함된 XML 파일에서 PDF 문서를 생성할 수도 있습니다. 이를 위해 먼저 XSLT를 사용하여 Aspose.PDF 호환 XML로 변환한 다음 PDF 형식으로 변환하겠습니다.
다음은 PDF 문서로 변환하는 데 필요한 샘플 XML 데이터입니다.
<?xml version="1.0" encoding="utf-8" ?>
<catalog>
  <cd>
	<Content>Hello World!</Content>
    <title>Empire Burlesque</title>
    <artist>Bob Dylan</artist>
    <country>USA</country>
    <company>Columbia</company>
    <price>10.90</price>
    <year>1985</year>
  </cd>
  <cd>
    <title>Hide your heart</title>
    <artist>Bonnie Tyler</artist>
    <country>UK</country>
    <company>CBS Records</company>
    <price>9.90</price>
    <year>1988</year>
  </cd>
  <cd>
    <title>Greatest Hits</title>
    <artist>Dolly Parton</artist>
    <country>USA</country>
    <company>RCA</company>
    <price>9.90</price>
    <year>1982</year>
  </cd>
  <cd>
    <title>Still got the blues</title>
    <artist>Gary Moore</artist>
    <country>UK</country>
    <company>Virgin records</company>
    <price>10.20</price>
    <year>1990</year>
  </cd>
  <cd>
    <title>Eros</title>
    <artist>Eros Ramazzotti</artist>
    <country>EU</country>
    <company>BMG</company>
    <price>9.90</price>
    <year>1997</year>
  </cd>
</catalog>
이 데이터가 Aspose.PDF XML과 호환되도록 하기 위해 XSLT 변환을 수행합니다. 이를 위해 아래와 같이 XSLT 스타일시트 파일에 템플릿을 정의합니다.
<?xml version="1.0" encoding="utf-8"?>
<xsl:stylesheet version="1.0"
  xmlns:xsl="http://www.w3.org/1999/XSL/Transform">
  <xsl:template match="/">
  <Document xmlns="Aspose.Pdf">
  <Page>
	 <PageInfo IsLandscape="false" Height="595" Width="420">
      <Margin Top="71" Bottom="71" Left="28" Right="28" />
    </PageInfo>
    <Header>
        <Margin Top="20" />
        <Table ColumnAdjustment="AutoFitToWindow">
            <Row>
                <Cell Alignment="1">
                    <TextFragment>
                        <TextSegment>Date: 11/01/2024</TextSegment>
                    </TextFragment>
                </Cell>
                <Cell Alignment="3">
                    <TextFragment>
                        <TextSegment>Page $p / $P</TextSegment>
                    </TextFragment>
                </Cell>
            </Row>
        </Table>
    </Header>
    <HtmlFragment>
      <![CDATA[
        <h1 style="font-family:Tahoma; font-size:16pt;">My CD Collection</h1>
        ]]>
    </HtmlFragment>
    <TextFragment>
      <TextSegment>Welcome</TextSegment>
    </TextFragment>
	<Table ColumnAdjustment="AutoFitToWindow" ColumnWidths ="10 10 10 10">
      <DefaultCellPadding Top="5" Left="0" Right="0" Bottom="5" />
      <Border>
        <Top Color="Black"></Top>
        <Bottom Color="Black"></Bottom>
        <Left Color="Black"></Left>
        <Right Color="Black"></Right>
      </Border>
      <Margin Top="15" />
      <Row BackgroundColor="LightGray" MinRowHeight="20">
        <Border>
          <Bottom Color="Black"></Bottom>
        </Border>
        <Cell Alignment="2">
          <TextFragment>
            <TextSegment>Title</TextSegment>
          </TextFragment>
        </Cell>
        <Cell>
          <TextFragment>
            <TextSegment>Artist</TextSegment>
          </TextFragment>
        </Cell>
        <Cell>
          <TextFragment>
            <TextSegment>Price</TextSegment>
          </TextFragment>
        </Cell>
        <Cell>
          <TextFragment>
            <TextSegment>Year</TextSegment>
          </TextFragment>
        </Cell>
      </Row>
	  <xsl:for-each select="catalog/cd">
		<Row>
        <Cell Alignment="2">
          <TextFragment>
            <TextSegment><xsl:value-of select="title"/></TextSegment>
          </TextFragment>
        </Cell>
        <Cell>
          <TextFragment>
            <TextSegment><xsl:value-of select="artist"/></TextSegment>
          </TextFragment>
        </Cell>
        <Cell>
          <TextFragment>
            <TextSegment><xsl:value-of select="price"/></TextSegment>
          </TextFragment>
        </Cell>
        <Cell>
          <TextFragment>
            <TextSegment><xsl:value-of select="year"/></TextSegment>
          </TextFragment>
        </Cell>
      </Row>
	  </xsl:for-each>
    </Table>
  </Page>
</Document>
</xsl:template>
</xsl:stylesheet>
템플릿 파일을 생성한 후에는 앞에서 언급한 단계에 따라 PDF를 생성할 수 있습니다. 그러나 XML 파일 및 XSLT 파일 경로를 제공하여 Document.bindxml(xmlfile, xslfile) 메서드를 호출하기만 하면 됩니다.
다음 코드 샘플은 Python을 사용하여 XML 파일에서 PDF를 생성하는 방법을 보여줍니다.
import aspose.pdf as ap

# 새 PDF 문서 만들기
pdfDocument = ap.Document();

# XML 변환 및 바인딩
pdfDocument.bind_xml( "C:\\Files\\data.xml",  "C:\\Files\\template.xslt");

# XML에서 PDF 생성
pdfDocument.save( "C:\\Files\\generated-pdf-table.pdf");

Python의 XML에서 PDF 생성
XML-PDF 변환기 라이센스
평가 제한 없이 API를 사용하려면 임시 라이선스를 취득할 수 있습니다.
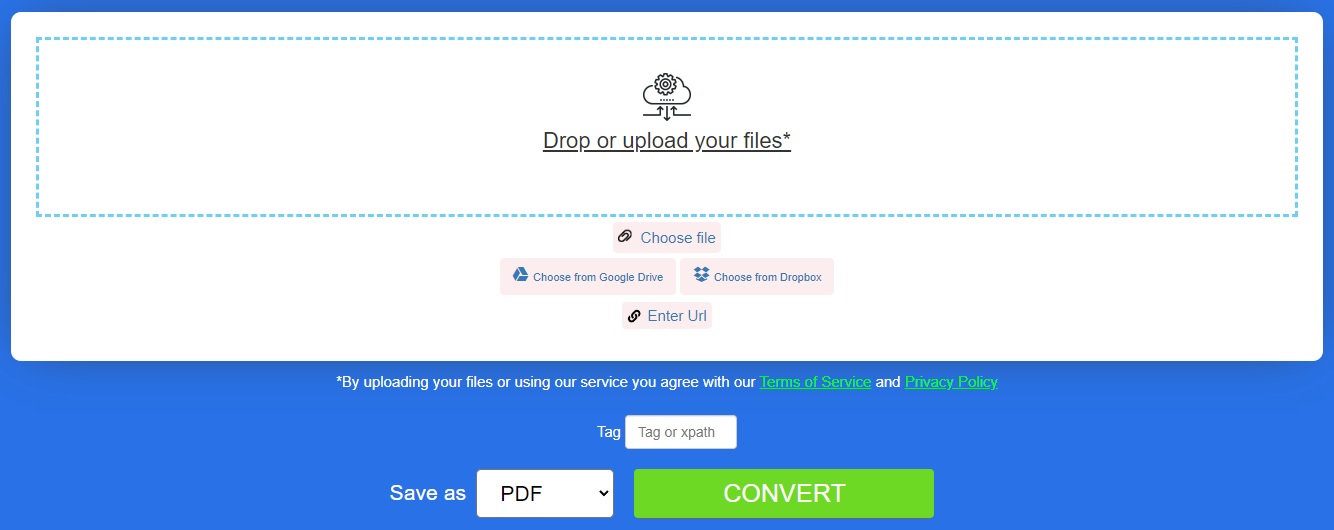
온라인에서 XML을 PDF로 변환
이 무료 XML-PDF 변환기 도구를 사용하여 온라인에서 XML 파일을 PDF 문서로 변환할 수도 있습니다.
XML 파일을 PDF로 – 학습 리소스
XML 파일을 PDF 문서로 생성하는 것 외에도 PDF 문서 생성, 조작 및 변환에 대해 자세히 알아보고 아래 리소스를 사용하여 라이브러리의 다양한 기타 기능을 살펴보세요.
결론
이 기사에서는 Python에서 XML을 PDF로 변환하는 방법을 배웠습니다. 이 기사에 설명된 단계를 따르면 이 기능을 Python 애플리케이션에 쉽게 통합하여 XML에서 PDF 파일을 생성할 수 있습니다. 질문이 있는 경우 무료 지원 포럼을 통해 언제든지 알려주시기 바랍니다.