
光學標記識別 (OMR) 是一種自動捕獲和分析標記在特殊類型文檔表格上的數據的過程。這種特殊類型的文件可以由人們在調查表、測試表和其他紙質文件上標記/填寫。在本文中,我們將學習如何使用 C# 開發基於 GUI 的 OMR 表格閱讀器應用程序。我們的解決方案將從本地磁盤輸入掃描的 OMR 表圖像,然後識別標記,最後以 CSV 格式導出標記的註冊號和陰影答案。執行上述步驟後,我們將在 .NET 中擁有我們的 C# 光學標記識別 (OMR) 軟件。讓我們開始吧。
文章應涵蓋以下主題:
- C# Optical Mark Recognition (OMR) 軟件的特點
- C# 光學標記識別.NET API 和 UI 控件
- 開發 OMR 軟件的步驟
- C# 光學標記識別 (OMR) 軟件演示
- 下載OMR軟件源代碼
C# 光學標記識別 (OMR) 軟件的功能
我們的光學標記識別 (OMR) 軟件將具有以下功能:
- 交互式調整識別參數並實時觀察其效果。我們可以調整以下內容:
- 識別門檻
- 飛漲
- 顯示/隱藏氣泡
- 選擇並加載以下格式的掃描圖像:
- 識別圖像上的光學標記。
- 以 CSV 格式導出結果並將其保存到本地磁盤。
C# 光學標記識別 .NET API 和 UI 控件
Aspose.OMR for .NET API 允許設計、創建和識別答題卡、測試、MCQ 論文、測驗、反饋表、調查和投票。此外,它還提供可添加到 .NET UI 應用程序的圖形用戶界面控件。我們將在 .NET UI 應用程序中集成 Aspose.OMR for .NET UI 控件,以開發 OMR 掃描儀/閱讀器應用程序。請 下載 API 的 DLL 或使用 NuGet 安裝它。
PM> Install-Package Aspose.OMR
開發 OMR 軟件的步驟
我們可以按照以下步驟開發基於 GUI 的 OMR 掃描儀/閱讀器應用程序:
- 首先,創建一個新項目並選擇 WPF App (.NET Framework) 項目模板。

- 接下來,在 Configure your new project 對話框中,輸入 Project name,選擇 Location,並設置其他參數。
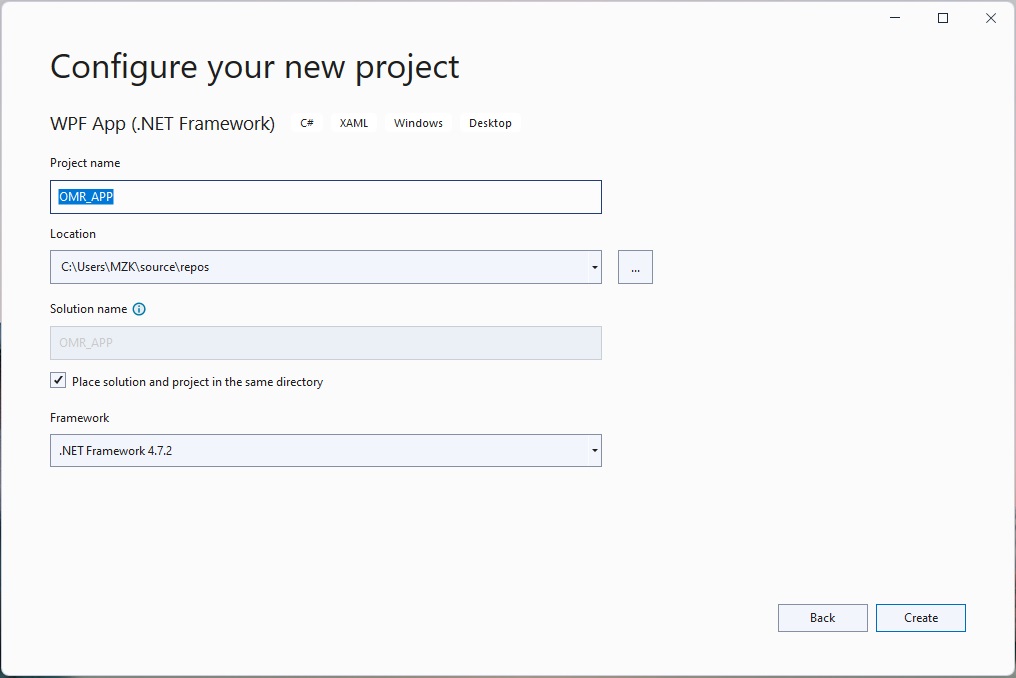
配置 WPF 應用程序項目
- 然後,打開 NuGet 包管理器並安裝 Aspose.OMR for .NET 包。
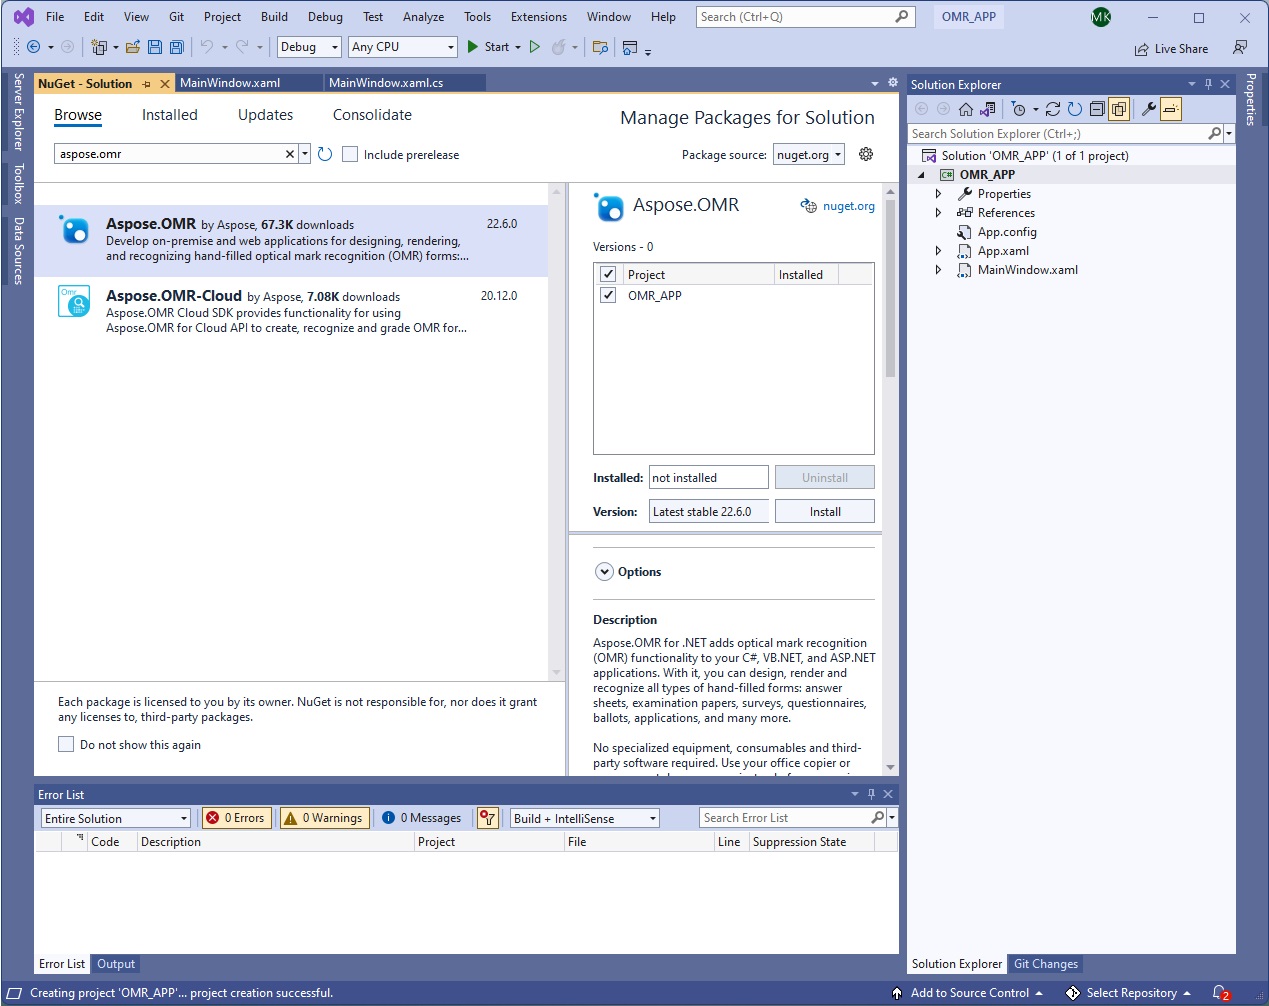
安裝適用於 .NET 的 Aspose.OMR
- 接下來,將新文件 DialogHelper.cs 添加到項目中。
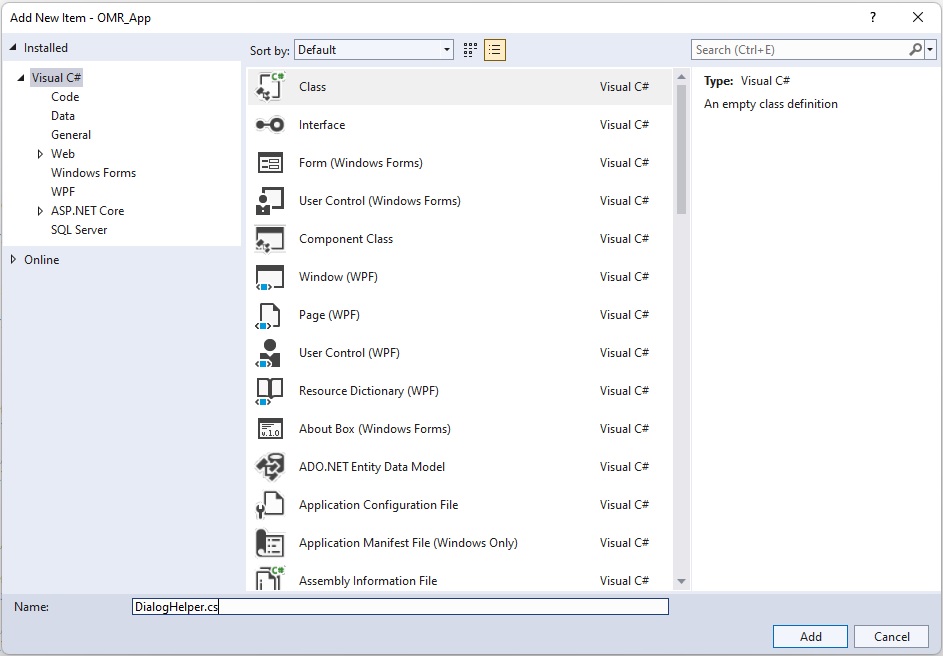
添加 DialogHelper.cs
- 將以下代碼添加到新創建的 DialogHelper.cs 中。
internal class DialogHelper
{
    ///<summary>
    /// 打開模板圖像的對話框的過濾器字符串。
    ///</summary>
    private static readonly string ImageFilesFilterPrompt = "Image files |*.jpg; *.jpeg; *.png; *.gif; *.tif; *.tiff;";

    ///<summary>
    /// 保存識別結果的對話框的過濾字符串
    ///</summary>
    private static readonly string DataExportFilesFilterPrompt = "Comma-Separated Values (*.csv)" + " | *.csv";

    ///<summary>
    /// 顯示打開圖像文件對話框。
    ///</summary>
    ///<returns>所選文件的路徑,或<c>無效的</c>如果沒有選擇文件。</returns>
    public static string ShowOpenImageDialog(string suggestedDir = null)
    {
        OpenFileDialog dialog = new OpenFileDialog();
        return ShowDialog(dialog, ImageFilesFilterPrompt, suggestedDir);
    }

    ///<summary>
    /// 顯示保存識別結果文件對話框。
    ///</summary>
    ///<returns>所選文件的路徑,或<c>無效的</c>如果沒有選擇文件。</returns>
    public static string ShowSaveDataDialog(string suggestedName)
    {
        SaveFileDialog dialog = new SaveFileDialog();
        return ShowDialog(dialog, DataExportFilesFilterPrompt, suggestedName);
    }

    ///<summary>
    /// 顯示給定的對話框並返回其結果作為<c>細繩</c>.
    ///</summary>
    ///<param name="dialog">要顯示的對話框。</param>
    ///<param name="filter">文件類型過濾器字符串。</param>
    ///<param name="suggestedDir">建議的對話框初始目錄</param>
    ///<param name="suggestedName">建議的文件名</param>
    ///<returns>所選文件的路徑,或<c>無效的</c>如果沒有選擇文件。</returns>
    private static string ShowDialog(FileDialog dialog, string filter, string suggestedDir = null, string suggestedName = null)
    {
        string fileName = null;

        dialog.Filter = filter;
        dialog.RestoreDirectory = true;
        if (suggestedName != null)
        {
            dialog.FileName = suggestedName;
        }

        if (suggestedDir != null)
        {
            dialog.InitialDirectory = suggestedDir;
        }

        bool? result = dialog.ShowDialog();
        if (result == true)
        {
            fileName = dialog.FileName;
        }

        return fileName;
    }
}
- 接下來,使用以下 XAML 內容更新 MainWindow.xaml 文件。
<Window x:Class="OMR_APP.MainWindow"
        xmlns="http://schemas.microsoft.com/winfx/2006/xaml/presentation"
        xmlns:x="http://schemas.microsoft.com/winfx/2006/xaml"
        xmlns:d="http://schemas.microsoft.com/expression/blend/2008"
        xmlns:mc="http://schemas.openxmlformats.org/markup-compatibility/2006"
        xmlns:local="clr-namespace:OMR_APP"
        mc:Ignorable="d"
        Title="Aspose OMR Demo" Height="880" Width="1100">
    <Grid Background="WhiteSmoke">
        <Grid.RowDefinitions>
            <RowDefinition Height="40"></RowDefinition>
            <RowDefinition Height="*"></RowDefinition>
        </Grid.RowDefinitions>

        <ToolBar Grid.Row="0" Background="LightGray">
            <TextBox Name="txtTemplatePath" Margin="5" Width="400" Height="30" Background="White"
                     HorizontalContentAlignment="Center" VerticalContentAlignment="Center">
            </TextBox>
            <Button  Margin="5" Width="100" Height="30" Background="White"
                     Content="Get control" HorizontalContentAlignment="Center" VerticalContentAlignment="Center"
                     Click="GetButtonClicked"/>
            <Separator/>

            <Button  Margin="5" Width="100" Height="30" Background="White"
                     Content="Select Image" Click="SelectImageClicked"/>

            <Button  Margin="5" Width="100" Height="30" Background="White"
                     Content="Recognize Image" Click="RecognizeImageClicked"/>

            <Button  Margin="5" Width="100" Height="30" Background="White"
                     Content="Export Results" Click="ExportResultsClicked"/>
        </ToolBar>

        <ContentControl Grid.Row="1" x:Name="CustomContentControl"
                        HorizontalAlignment="Center" VerticalAlignment="Center"/>
    </Grid>
</Window>
- 之後,替換 MainWindow.xaml.cs 文件中的以下內容。
///<summary>
/// 測試模板
///</summary>
private static readonly string TemplateFilePath = @"C:\Files\OMR\Sheet.omr";

///<summary>
/// 許可證 Aspose.OMR.NET.lic 文件的路徑
///</summary>
private static readonly string LicensePath = @"";

private CorrectionControl control;

public MainWindow()
{
    InitializeComponent();

    // 設置和顯示模板文件路徑
    txtTemplatePath.Text = TemplateFilePath;

    // 設置許可證,提供許可證文件路徑並取消註釋以測試完整結果
    //許可證 lic = new License();
    //lic.SetLicense(LicensePath);
}

public string UserImagePath { get; set; }

public string DataFolderPath { get; set; }


///<summary>
/// 加載並顯示 CorrectionControl
///</summary>
private void GetButtonClicked(object sender, RoutedEventArgs e)
{
    string path = txtTemplatePath.Text;

    try
    {
        OmrEngine engine = new OmrEngine();
        TemplateProcessor processor = engine.GetTemplateProcessor(path);

        control = engine.GetCorrectionControl(processor);
        CustomContentControl.Content = control;
        control.Initialize();
    }
    catch (Exception ex)
    {
        MessageBox.Show(ex.Message,"Exception");
    }
}

///<summary>
/// 選擇並顯示圖像
///</summary>
private void SelectImageClicked(object sender, RoutedEventArgs e)
{
    if (control == null)
    {
        return;
    }

    string imagePath = DialogHelper.ShowOpenImageDialog(this.DataFolderPath);
    if (string.IsNullOrEmpty(imagePath))
    {
        return;
    }

    this.UserImagePath = imagePath;

    control.LoadAndDisplayImage(imagePath);
}

///<summary>
/// 識別加載的圖像
///</summary>
private void RecognizeImageClicked(object sender, RoutedEventArgs e)
{
    if (control == null)
    {
        return;
    }

    control.RecognizeImage();
}

///<summary>
/// 將結果導出到 CSV
///</summary>
private void ExportResultsClicked(object sender, RoutedEventArgs e)
{
    if (control == null)
    {
        return;
    }

    string imageName = Path.GetFileNameWithoutExtension(this.UserImagePath);

    string path = DialogHelper.ShowSaveDataDialog(imageName);
    if (string.IsNullOrEmpty(path))
    {
        return;
    }

    control.ExportResults(path);

    MessageBox.Show("The exported resultant CSV file can be found here : " + path, "Operation Successful");
}
- 最後,運行應用程序。
C# 光學標記識別 (OMR) 軟件演示
以下是我們剛剛創建的 OMR 掃描儀/閱讀器應用程序的演示。

OMR 軟件演示
下載 OMR 軟件源代碼
您可以從 GitHub 下載 OMR 掃描儀應用程序的完整源代碼。
獲得免費許可證
您可以 獲得免費的臨時許可證 來試用該庫,而沒有評估限制。
結論
在本文中,我們學習瞭如何
- 在.NET應用程序中集成Aspose.OMR for .NET UI控件;
- 在 C# 中開發 OMR 表閱讀器應用程序。
此外,您可以使用文檔了解更多關於 Aspose.OMR for .NET API 的信息。如有任何疑問,請隨時在我們的 論壇 上與我們聯繫。